
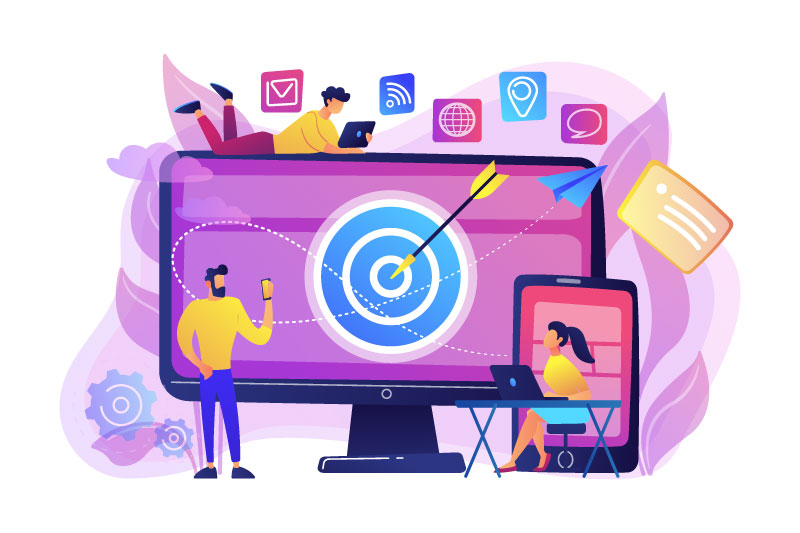
Planning on running Facebook ads in the near future to promote your business or products? Then you need a Facebook Pixel!
What is it?
A Facebook Pixel is an invisible piece of code that you place on your website to track your visitor’s actions while they are there. Chances are that if they went through the effort to click through to your website from your ad, then they are probably interested in your product or service.
You can effectively track how many people visit your website, what they look at and what they buy – or didn’t buy. By understanding which ads are working, you can build your audiences, re-target people immediately, re-market your products and track conversions.
How Does It Work?
In very simple terms without getting too ‘techy’ on you… a shopper visits your store and looks at your products. Maybe they even add a couple of items to the cart. The Facebook Pixel is sitting in the background, quietly taking notes on everything that is happening. It then syncs with the Facebook cookies residing in the visitor’s browser and flags the account as part of certain target groups. And thanks to this information, when a shopper visits Facebook or Instagram, those platforms know what they have been doing and determine which ads they should see.
Where to start?
Facebook has made it fairly easy to setup your Facebook Pixel. You first need a personal Facebook account to confirm your identity. Next you create a Business Manager account, a Facebook tool that helps you to organize and manage your online business. It is a more secure way to manage your Pages and ad accounts. You can also keep your business separate from your personal Facebook profile.
- In Business Manager, go to business settings. Find ‘Events Manager’ and click on ‘Connect a Date Source.’ Here you can connect a website or app. For now, select ‘Web’ and click ‘Get Started.’
- Next, select the connection method. You want Facebook to create that Pixel for you. Select ‘Facebook Pixel’ and click ‘Connect.’
- Give your Pixel a Name, add the website and hit ‘Continue.’
- Next you select how to connect the pixel to your website. If you are ‘techy,’ you can manually install code to your website. I suggest you connect your site using one of the ‘Partner Integrations,’ such as WordPress. Select ‘Use a Partner’ and select ‘WordPress’ integration.
- Select ‘Advanced Matching’ and hit ‘Continue.’
- Click ‘Download’ for a .zip file and hit ‘Continue.’
Now you will be walked through how to add the plugin to your WordPress website.
Go to your WordPress Dashboard and click on ‘Plugins.’ Select ‘Add New’ and ‘Choose File’ (my files save to my ‘Downloads’ folder on my computer).
- Select the recently downloaded Facebook Pixel file and then ‘Activate’ the Facebook Pixel plugin.
- Go to your WordPress ‘Settings’ and enter your Pixel ID number and save changes.
Next you want to Test the events in Events Manager. Nothing is currently showing because you just installed the pixel.
- Enter your website URL in the and hit ‘Open.’ Click on a few items in your website.
- Go back to your Events Manager, refresh your page and you should start seeing the items you clicked on within your website.
- Now that the Facebook Pixel is installed and working, you can install the pixel somewhere else – like a landing page or anything else that you want to track.
And, there you have it! Growing your business using the Facebook Pixel can be challenging, especially with all the ongoing updates and changes. As industry experts, Kalop Marketing can manage your account and efficiently engage your target audiences, creating opportunities to grow your business through the use of Facebook Ads. If you would like to learn more and find out how we can help you, CONTACT US today or visit us on FACEBOOK.